


On the blog…
If you’re wondering where to start or what to buy next, here are a few ideas to help you decide.
Are you just getting started in T-Tapp?
MORE is my favorite hands down! Healthy Hormones Menopause Management (for all ages and anyone with hormones–male and female!) is another great starter.
Are you just getting started in T-Tapp?
MORE is my favorite hands down! Healthy Hormones Menopause Management (for all ages and anyone with hormones–male and female!) is another great starter.
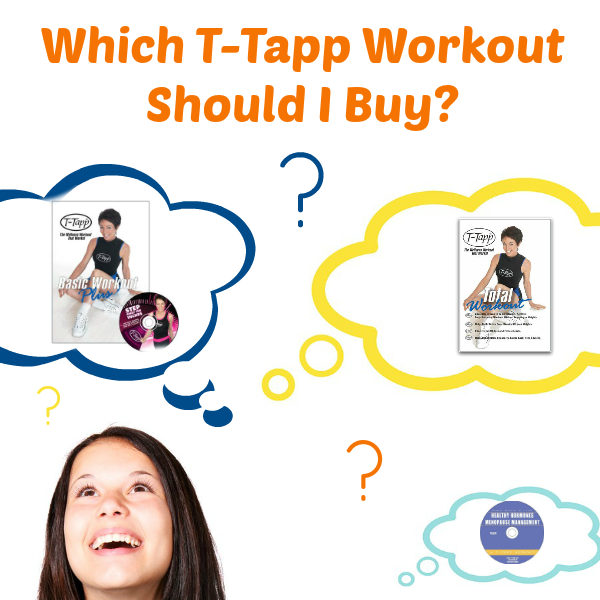
Which Workout Should I Buy?

Often after someone has started T-Tapp, they will see Tempo Arms and decide they need to get that, because "I need help with my arms"!
Now, Tempo Arms is a great workout, but....you actually won't get as good of results as you're hoping if you haven't learned to activate those arms in every move of Basic Workout first!
Every move in BWO+ (and TWO, but we're going to focus on BWO+) will work your arms if you activate to your max!
Now, Tempo Arms is a great workout, but....you actually won't get as good of results as you're hoping if you haven't learned to activate those arms in every move of Basic Workout first!
Every move in BWO+ (and TWO, but we're going to focus on BWO+) will work your arms if you activate to your max!
Moves for Arms

Think about it….if you are driving through a thick fog, are you going to speed through at 60 mph? Why not? Well, that’s obvious! You aren’t sure of yourself. Even if you’re in familiar territory–what is normally second nature becomes a tense drive through the eerily unknown.
In A Fog

It happens to all of us at different times–no results in spite of consistency. For some, though, it happens at the beginning of their T-Tapp journey, making it tough to keep going. We all like to see some progress, however small!
There are many reasons for not seeing inch loss. Adrenal and thyroid issues are common ones, as are other health issues. Overtraining is also a common cause. The problem comes, though, in deciding what exactly is overtraining for you.
There are many reasons for not seeing inch loss. Adrenal and thyroid issues are common ones, as are other health issues. Overtraining is also a common cause. The problem comes, though, in deciding what exactly is overtraining for you.
Prescription for Results
Healthy eating plans derailed? Get back on track with these easy tips & recipes!

Grab this checklist with super easy tips to get back to healthy eating! Includes recipes to get veggies in that have been family-approved…even my teenage boys love them!