
Alignment and form are key to results in any exercise. They optimize lymphatic pumping and drainage as well as muscle activation. They also protect joints and prevent injury. Alignment especially helps re-calibrate your posture and carries into daily life and activities, too.
But what if you don’t live near a trainer? Or maybe you do, or can access one online, but you can’t afford to hire her to come every day!
Use the built-in, in-house trainer you already have!
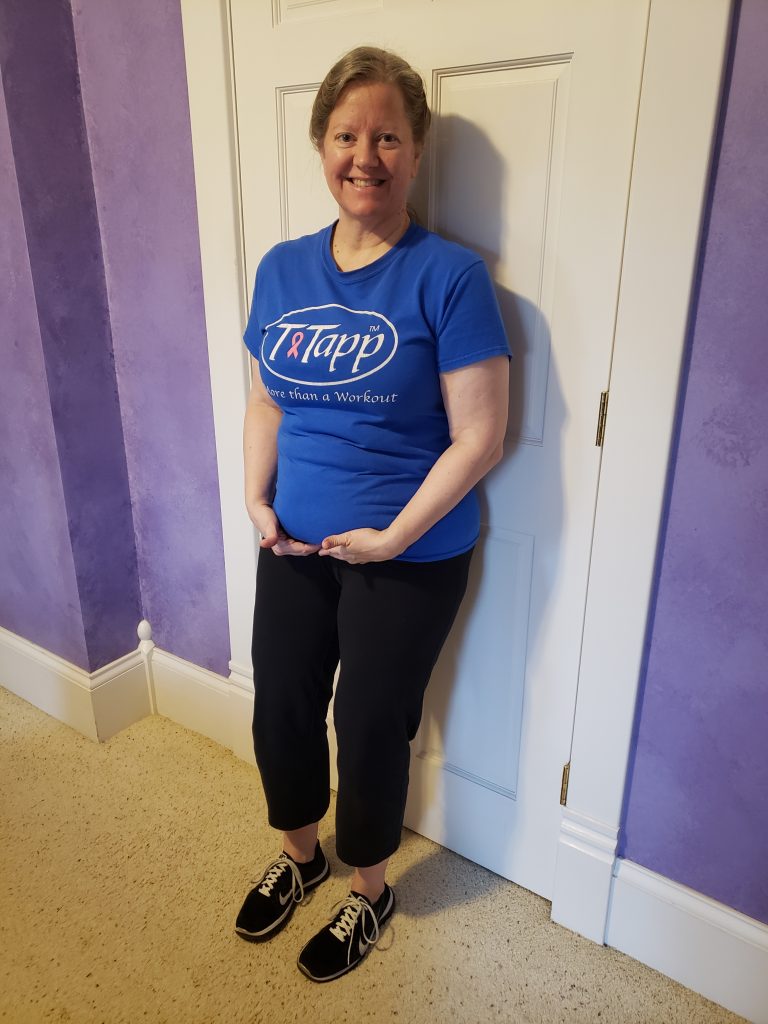
Introducing–The Wall!
(Or, in this case, the door!)
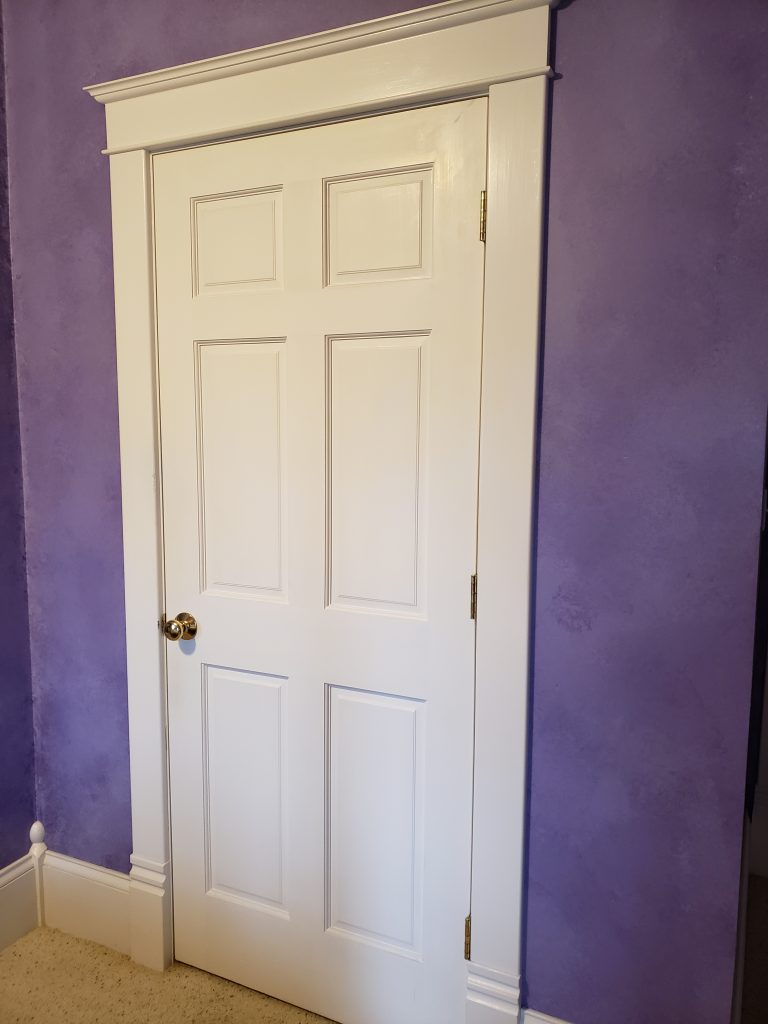
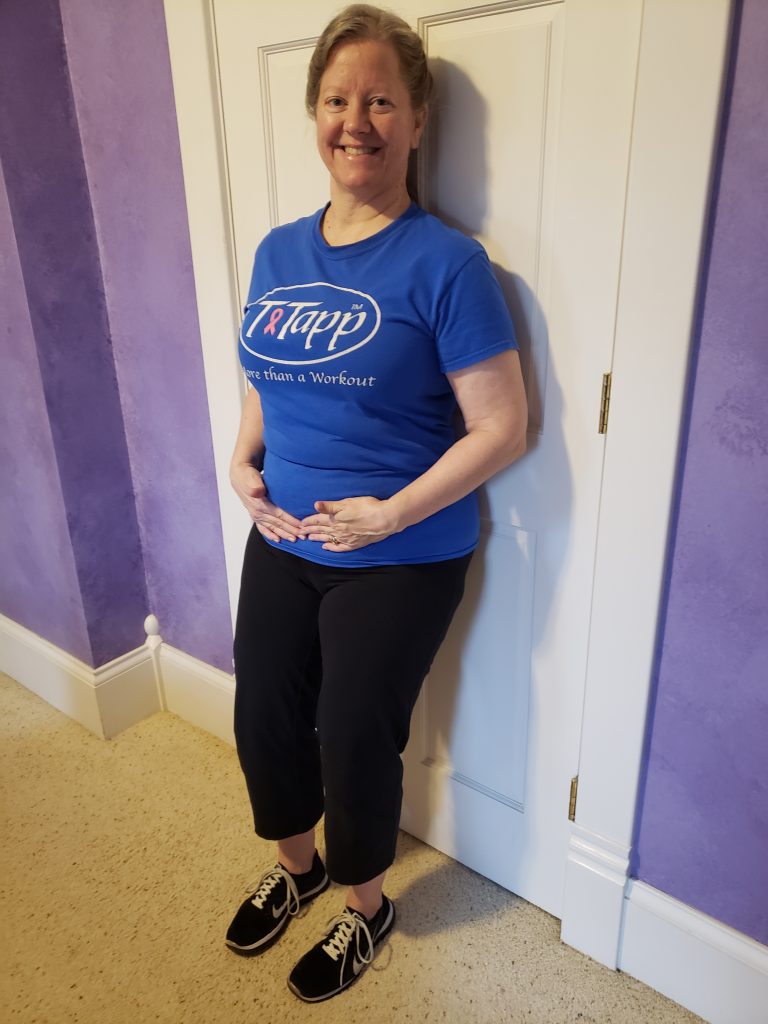
If you don’t have a wall clear of pictures (or chair rail), you can use a closed door. The goal is being able to lean against it to focus on muscle activation and alignment.
By using the wall to help support your body, you free up your brain a bit as well as your hands. Leaning against the wall takes off some of the pressure of holding yourself up against gravity, allowing you to focus more on what your muscles are (or should be) feeling and less on standing upright in the T-Tapp stance.
But just because you’re using the wall doesn’t mean you’re not focusing on points of perfection when it comes to form!
How It Works
The key points to using a wall or door to help with alignment and form:
- Heels of feet out 4-6 inches from the wall (enough room to tuck under)
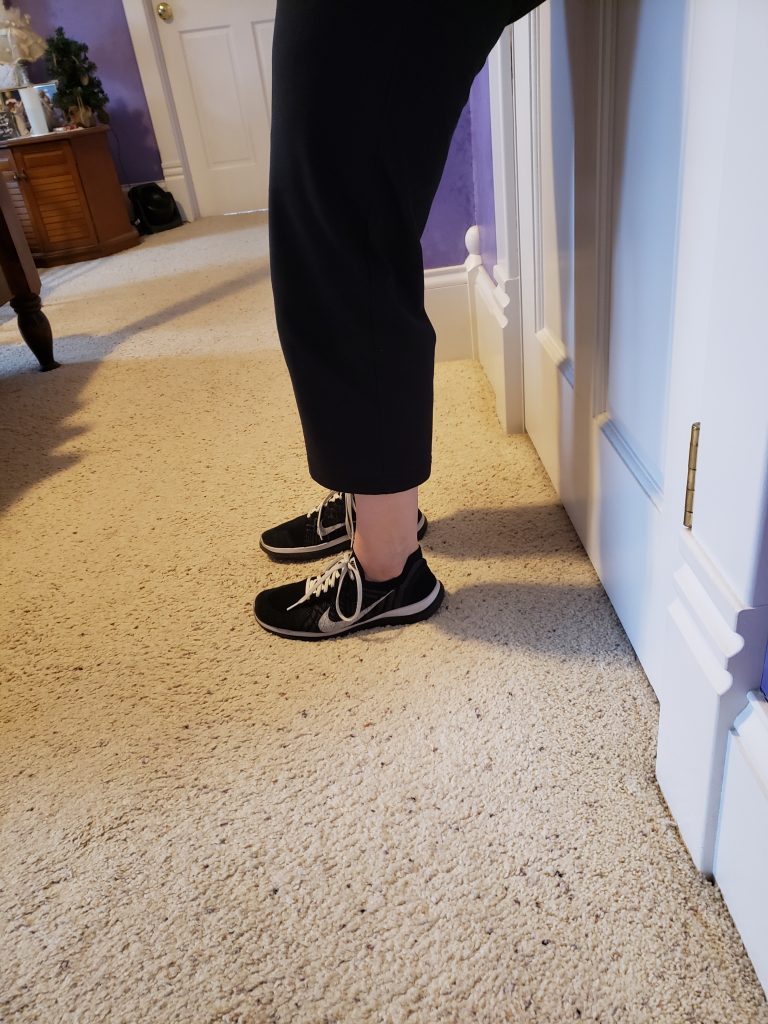
- Toes forward
- Knees softly bent
- Start with natural airspace between lower back and wall
- Upper back can be touching the wall but doesn’t need to to start
I’m showing how there is the natural space there.
Once you find your wall or door, get set up as in the above tips. You are leaning against the wall, but don’t get slouchy—you still are focusing on proper form, after all!
Curing the Core Against the Wall
First– Place your hands low on the belly, below any fluff 🙂 and just above the pubic bone. Wiggle in gently and after a big inhale, on the exhale push everything up as you think/say “belly button up”. You will tuck under ever-so-slightly, but you are NOT focusing on the glutes yet. You are using the core muscles–the hands touching and pushing up a bit are helping the brain-body connection.
“Belly button UP”
Second– You will again inhale, and on the exhale, use your core muscles to flatten the lower back against the wall as best you can. You will bend the knees more as well as tuck under and use the gluteal muscles, but the core muscles are doing the larger portion of the work. Flatten your hands against your tummy when doing this part and think/say “belly button back”. (Yes, I want you to say it—it helps with the brain-body connection, too!)
flatten back against the wall
“Belly button BACK”
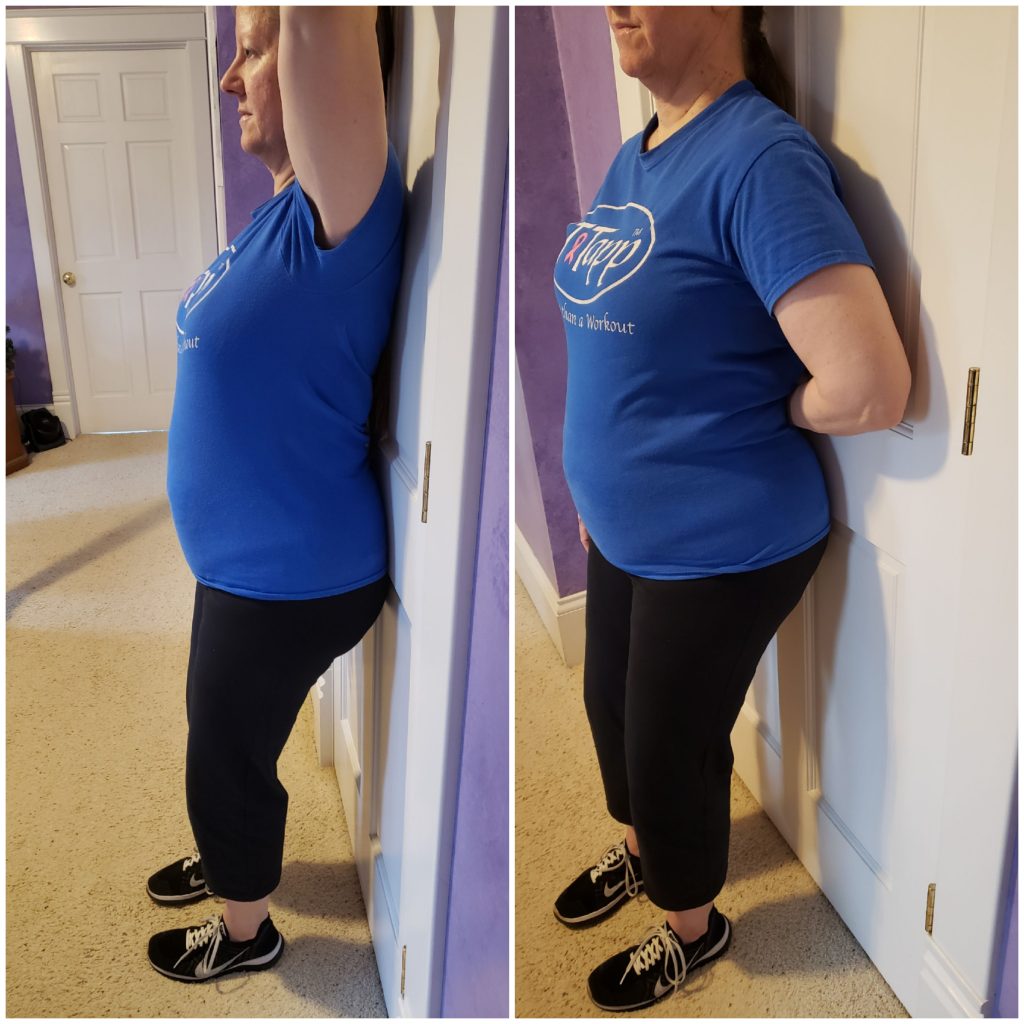
Next– Work one hand a bit higher, at the belly button or slightly above, inhale, and on the exhale press both hands against the tummy. Think of an elevator, with your core being the ground floor and then elevate your spine to lift ribs. You may notice the shoulders going back a bit, but they don’t need to touch the wall. The back of your head should be touching the wall but you should not have neck tension. You can slowly shake your head “no” to release any tension, or you can lightly press the back of the head against the wall. Refocus the top hand pressing against the upper tummy, refocus the lower tummy to press the lower back against the wall.
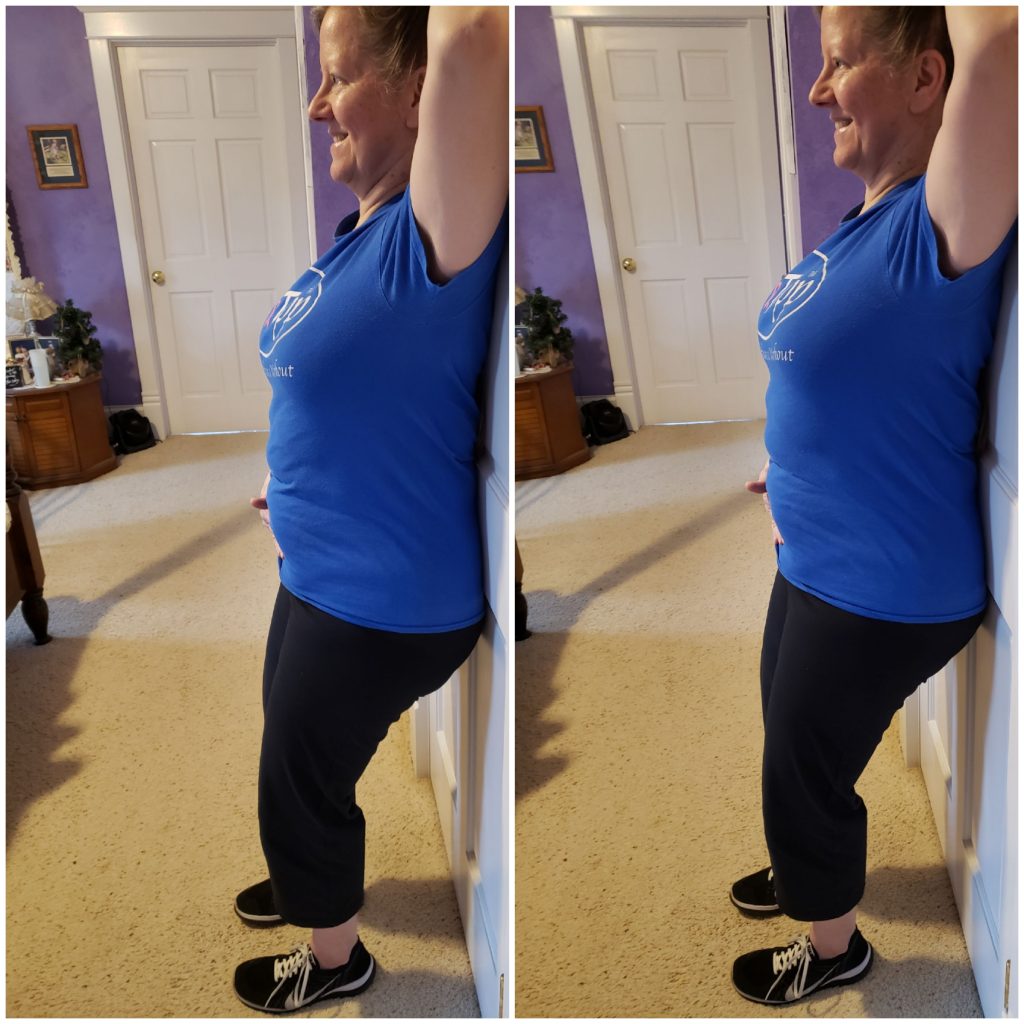
that hand would be pressing at or just above the belly button.
There’s only a slight difference–picture on the right I focused on RIBS UP!
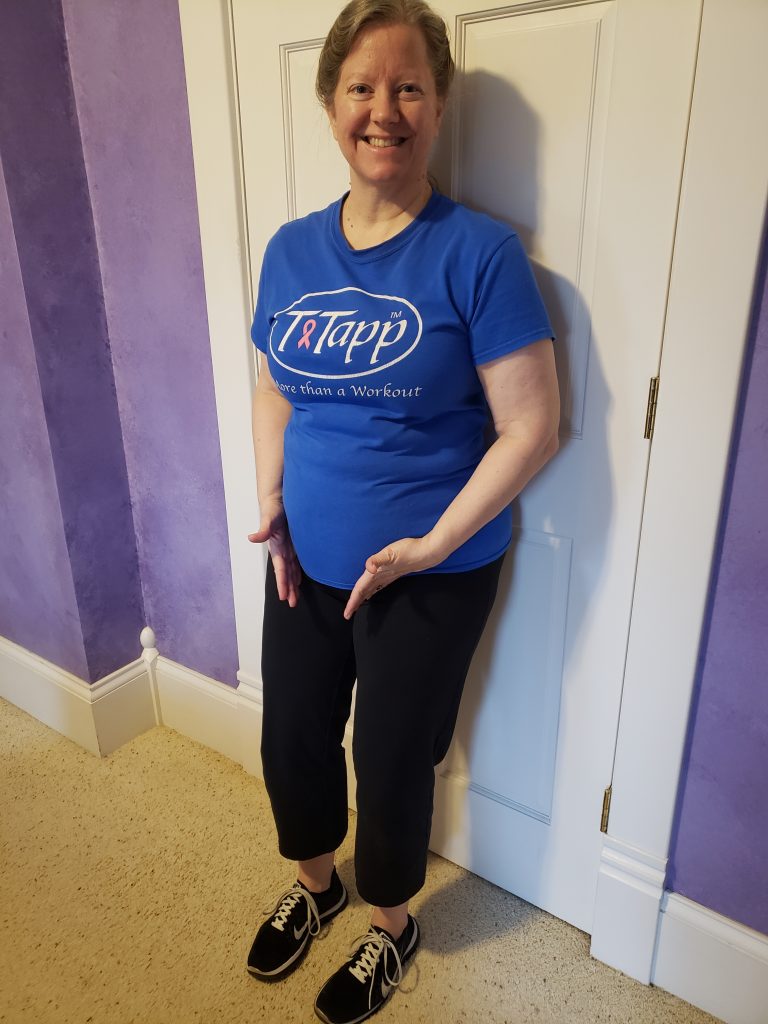
Finally– Shift weight in feet off of big toe. Then inhale big—exhale bigger! It will be difficult, depending upon how tight the fascia around your rib cage is. Do your best without losing form or alignment!
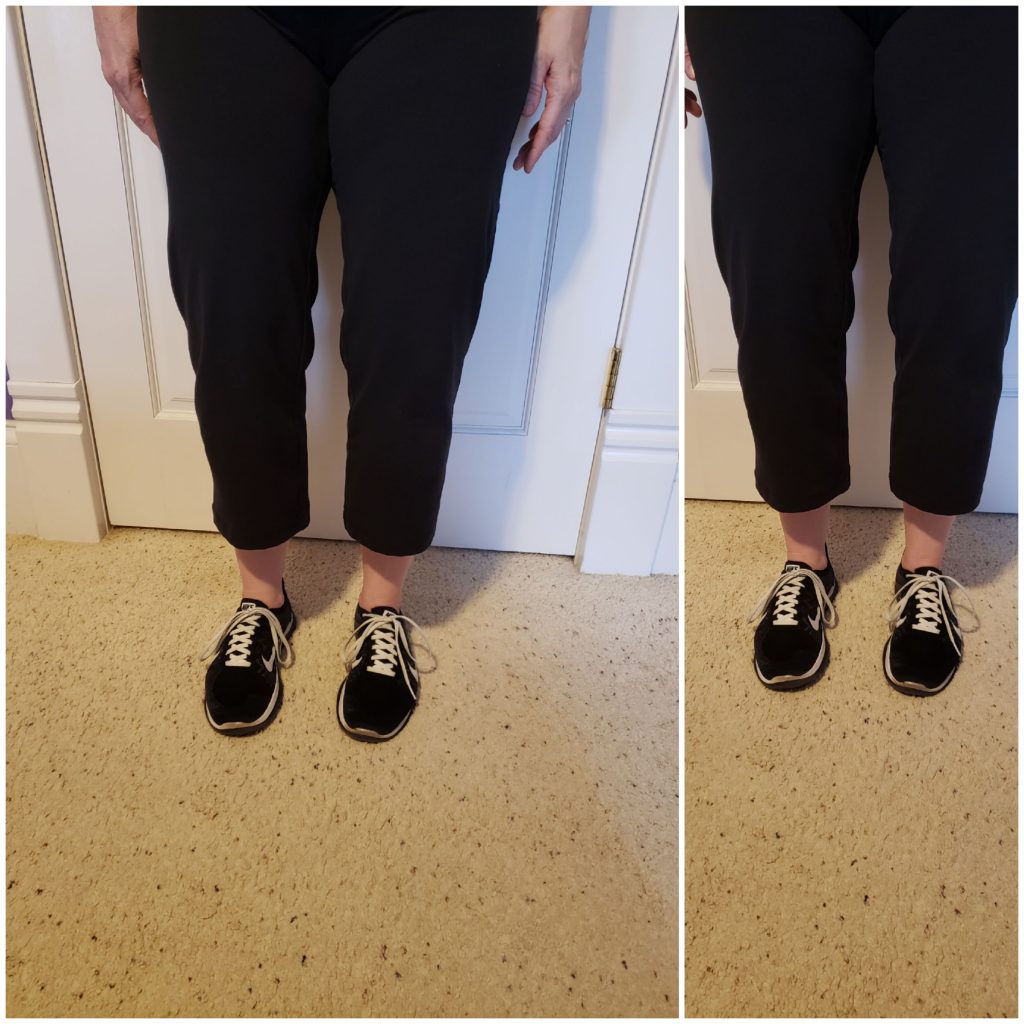
You can tell a slight difference in the distance
between my knees and thighs.
You will feel slightly restricted trying to inhale deeply—think of East/West breathing, expanding the rib cage laterally. Then exhale all the way, as if pulling the ribs together. This is good for stretching the fascia around and between the ribs!
After a few deep breaths, step away from the wall and shake/kick out.
How About a Few Moves Against the Wall?
Oh yes you CAN!
Here are moves you can do against the wall:
- Plies (from Basic Workout, Health Hormones workout, Senior Fit, MORE)
- Reach Scoops
- T-Tapp Twist
- Hoedowns
There are more moves from other workouts that can be done against the wall, but these are great for starters!
I’ll go more in depth on how to use the wall with these moves in future posts, but if you want to go ahead and try one or all of them, remember to keep the feet out 4-6 inches, and press the lower back while executing the move.
I’d love to hear how you felt curling the core against the wall! And if you decide to try one of the moves listed above, let me know!
Stay tuned for more “Built-In Personal Wall Trainer Tips”! 😉
Thanks to my son Noah for being my photographer! ♥
Thank you!! So good to get back to basics and good form in the new year.
You’re welcome, Lisa!
I can do many sets of hoedowns at one go! So I know my form isn’t right 🙂 Would love to get your tips on doing hoedowns against the wall\door. Cheers.
Thanks so much for this. Cannot wait for more tips!